This content is part of the Alfresco ADF basic customisations tutorials and describes how to customise the login page of your Alfresco ADF application. The customisation of the login page is very straightforward, thank to the ADF Login component. Before showing how to do it, we would like to submit to your attention the Alfresco Catalog, extremely useful for documentation and reference, during the development.
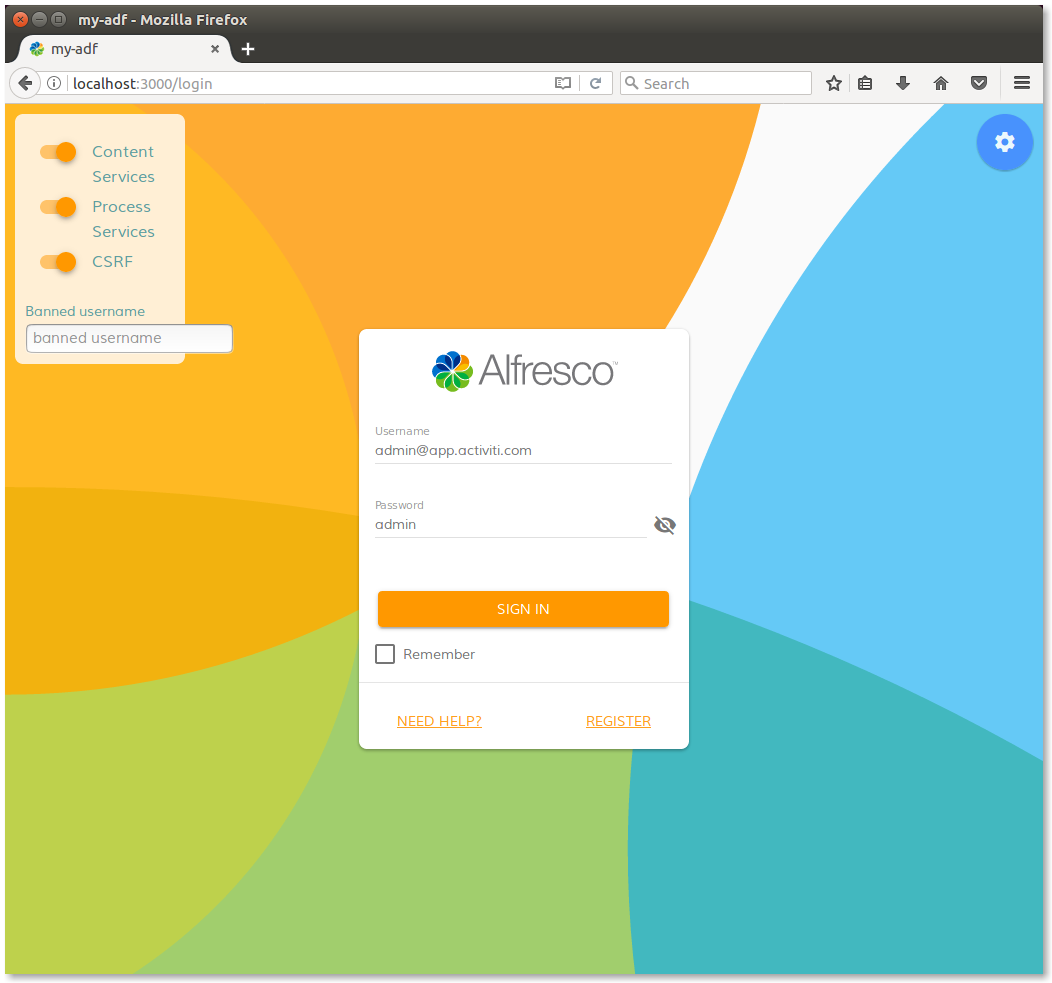
As we learnt in the previous paragraphs, everything is related to the login is managed by an Angular 4 component, in this case named alfresco-login and stored in the my-adf application in the app/components/login folder. Let’s see in the picture below, how the login looks like before any change.

Login page of my-adf application.
Following the ADF Login documentation, let’s edit the login-demo.component.html file according to the description below.
<alfresco-login #alfrescologin
  [backgroundImageUrl]="'background.jpg'"
  [logoImageUrl]="'logo.png'"
  [providers]="providers"
  [fieldsValidation]="customValidation"
  [disableCsrf]="disableCsrf"
  (executeSubmit)="validateForm($event)"
  (onSuccess)="onLogin($event)"
  (onError)="onError($event)">
Of course in this example is assumed that two pictures named background.jpg and logo.png are saved in the public folder of the my-adf application.
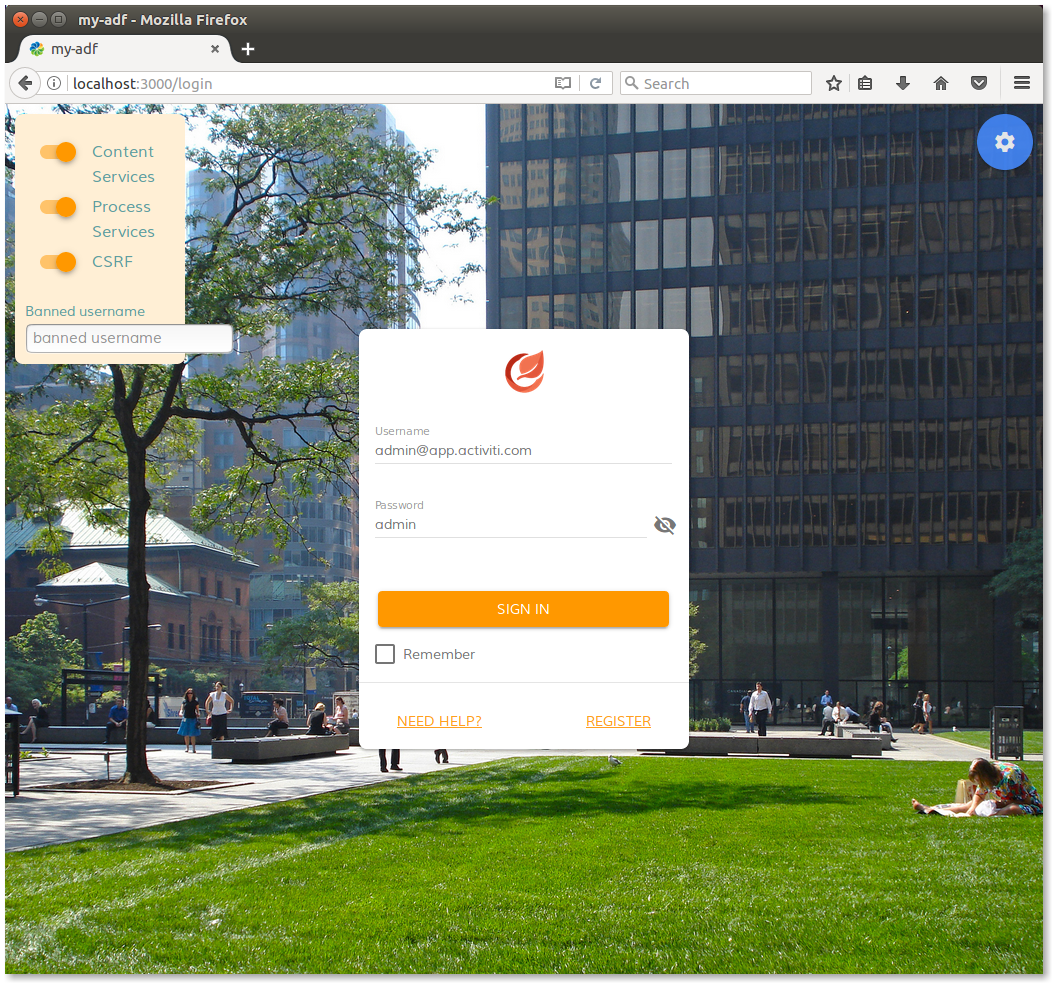
Saving the login-demo.component.html file, you will see that the application will be updated automatically. If it won’t happen, restart it from the terminal. Below a picture showing how the login page looks like after restarting.

Login page of my-adf application after customizations.
Next task >>


